By John Moore
When we start a young horse that will eventually be used to work cattle or be used in a western event such as Working Cowhorse, we want it to eventually be a “neck- reined” horse, meaning a horse that is ridden with one hand and moves off the feel of the outside rein (supporting rein) against the neck. Developing and training a horse like this is a process that includes specific steps that should be taught in the right order and of course, in the right way. We start by having one rein in each hand, using simple and direct signals to teach the concepts of the direct and indirect rein to the horse while incorporating the correct corresponding leg and seat cues. We are building toward the day when the direct (leading) rein is no longer necessary, when the horse will be moving off the outside rein against the neck and outside leg of the rider. It is important during this process that the outside rein and leg are felt by the horse just before it feels the inside direct rein. I have discussed the leg and rein signals in previous articles, along with the proper use of the reins, both direct and indirect.
|
So, when the horse is responding correctly, quickly and with impulsion when you ride with two hands, moving off your outside rein and leg while needing very little correction with the direct rein, its time introduce the horse to the next step which will transition it into the neck rein. This transitional step is a technique of one-handed riding that incorporates the same signals used when riding with two hands, but is done with only one hand. It is called the “Squaw Rein” in the western U.S. and is an old technique that has been used by experienced riders and trainers for centuries. This step is usually done in the snaffle bit or bosal, before introducing the horse to the stiff bit. The term “stiff bit” refers to a bit with shanks and with a mouth port of some kind and has no swivels or hinges in its construction; it is literally stiff. The Squaw Rein is also useful with some shanked bits with broken mouthpieces and/or hinged shanks. The important thing is that you need to be able to “speak” independently to one side or the other of the horse’s mouth or nose at this stage.
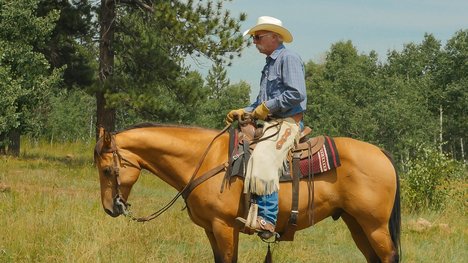
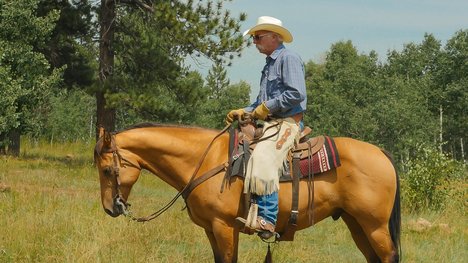
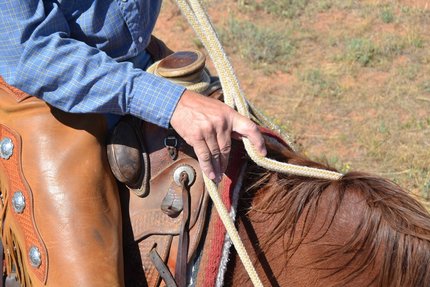
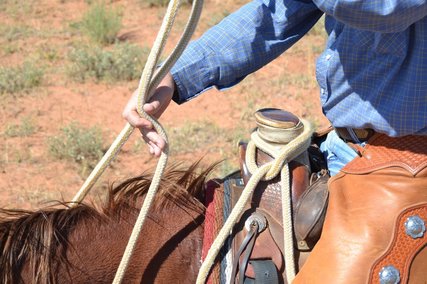
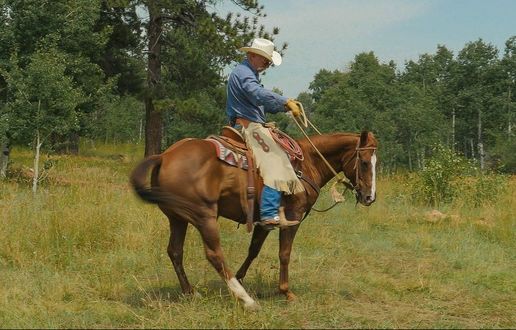
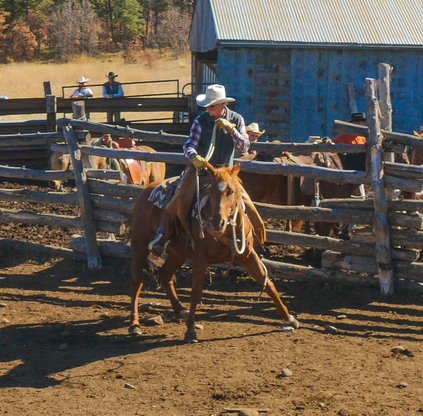
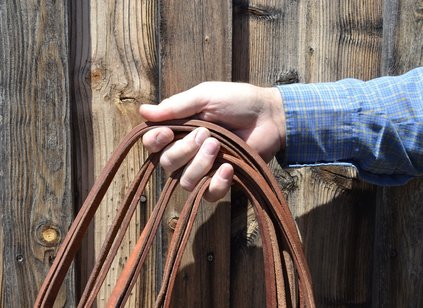
When using the Squaw Rein, it is important to hold the reins with one hand in a way that allows you to apply lateral (sideways) rein pressure on only one side without applying any pressure to the other rein. You need to be able to do this equally well with either hand, on either side. To start off, I’ll talk about the right hand first. As shown in Photo 1, hold both the reins between your thumb and index finger, back toward the base of the thumb and finger. This leaves your other three fingers free. To turn right, first use your seat and leg pressure to signal the horse on its left side. Then, with your right hand, lay the left rein against the left side of the horse’s neck. If the horse doesn’t respond immediately and with impulsion (energy), apply a direct rein to the right side by reaching over the top of the right rein with the three free fingers and applying lateral rein pressure to the right, being careful not to pull straight back. (Photo 2) Since you will have already applied rein and leg pressure on the left side, the right rein is being used as a direct rein to reinforce the left “neck rein” and left leg cue. The concepts are the same for the left turn. You are still using the right hand, but the way you use your three free fingers will be slightly different. You will use the same outside leg and rein cues as before, but on the right side this time. After you apply seat and leg cues, reach under the right rein with your free fingers and apply lateral pressure to the left rein, being careful not to pull straight back. (Photo 3) An alternate method it is to reach over the right rein with your free fingers and apply the direct rein. (Photo 4) Either way is correct, and is dictated by what works best for the individual rider - as long as the horse is getting a clear signal and you are not pulling straight back. It is important to become proficient at using the variations of the Squaw Rein with your left hand as well, since many jobs require that you use either hand, such as in teaching ground work to a colt from the back of your saddle horse. When learning to use it with your left hand, simply mirror the instructions for the right hand. There is another technique that can be used when you are riding with one hand but are not using your free hand for anything. This is also referred to as a type of Squaw Rein. In this application you will signal the horse the same as I described above, with your seat, outside leg and neck rein, but you will reach down with your free hand to apply direct rein as needed. Using the Squaw Rein correctly and effectively takes a bit of practice, but it is extremely helpful in transitioning a horse from two hands to one hand, and eventually into becoming a “neck reined” horse. (Photo 5) Very often, in a ranch situation, you will need to have one hand free to perform tasks such as roping or opening gates while you are riding a young inexperienced horse that works well in two hands. This is where the Squaw Rein is extremely valuable. It is easy for the horse to understand because you are using the same cues with your legs and reins that he/she already knows. You are simply speaking to the horse in a more refined and precise manner. Even if you don’t work on a ranch with your horse, you will find the Squaw rein very useful in show events like Working Equitation, Ranch Trail and Extreme Cowboy Racing where riding with one hand is often necessary. Side bar: In order to make this article complete I will mention another type of Squaw Rein that is used sometimes by drivers when handling multiple horses at a time when pulling a wagon. In this application the driver will hold the reins of each horse between the fingers of one hand. For instance, in a four horse “hitch”, as it is called (a team of four horses pulling one wagon), the driver will hold the reins of one horse between the thumb and index finger, and the reins of another horse between the index and middle finger, the reins of another horse between the middle finger and ring finger, and the reins of the last horse between the ring finger and little finger. (Photo 6) Then, when pressure is needed on one side, the driver will use their free hand to pull one or more reins on one side or the other. In this way the driver can speak to each individual horse in the team if needed. |
Photo 1
Photo 2
Photo 3
Photo 4
Photo 5
Photo 6
|
